
Your chairside companion for direct composite restorations
Smile ResiPro takes you from a teeth-only photo to a shade-confirmed layering plan and a step-by-step procedure, then keeps a PDF record of the case. Created by Dr. Osama Shaalan.
Start with a 3-day free trial on iPhone or iPad. Then $15.99 a month or $89.99 a year.

New in Smile ResiPro
Search every composite system, study the Simplified Approach photo by photo, and send a case to Dr. Osama for feedback, all inside the app.
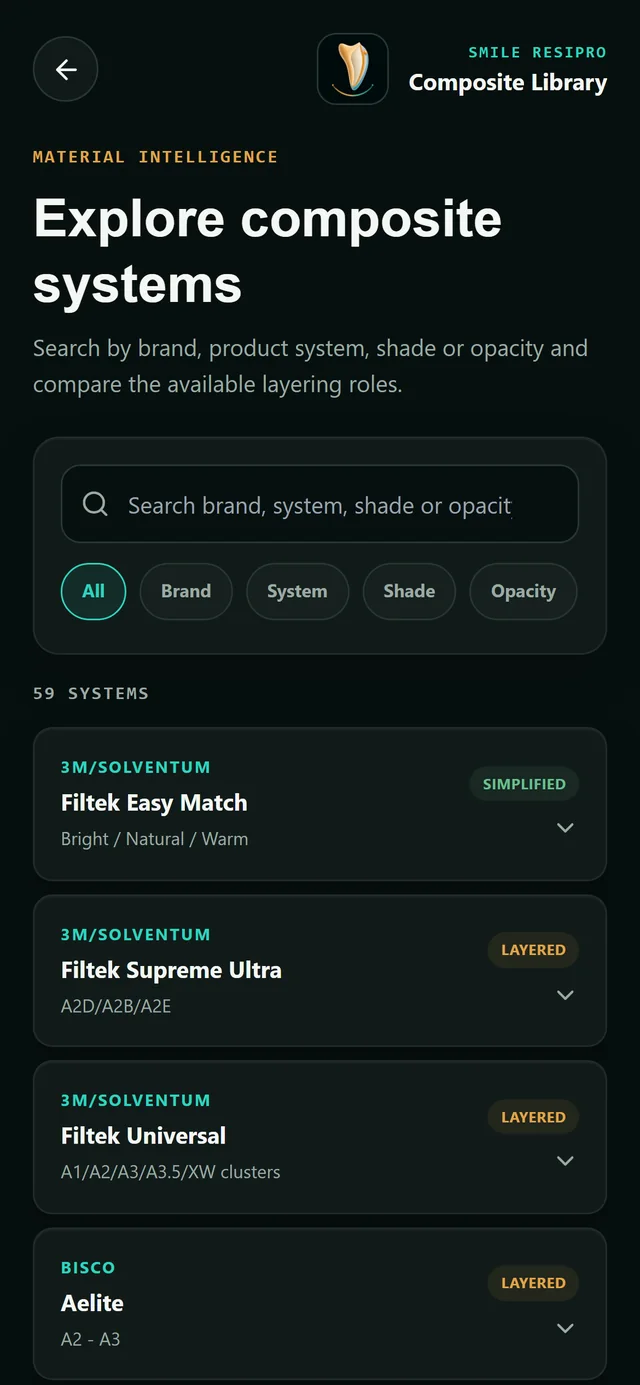
Explore composite systems
Search 59 composite systems by brand, product system, shade or opacity, and compare the layering roles each one offers before you plan.
- Filter by brand, system, shade or opacity
- See at a glance whether a system is simplified or layered
- Open a system to see its shades and layering roles
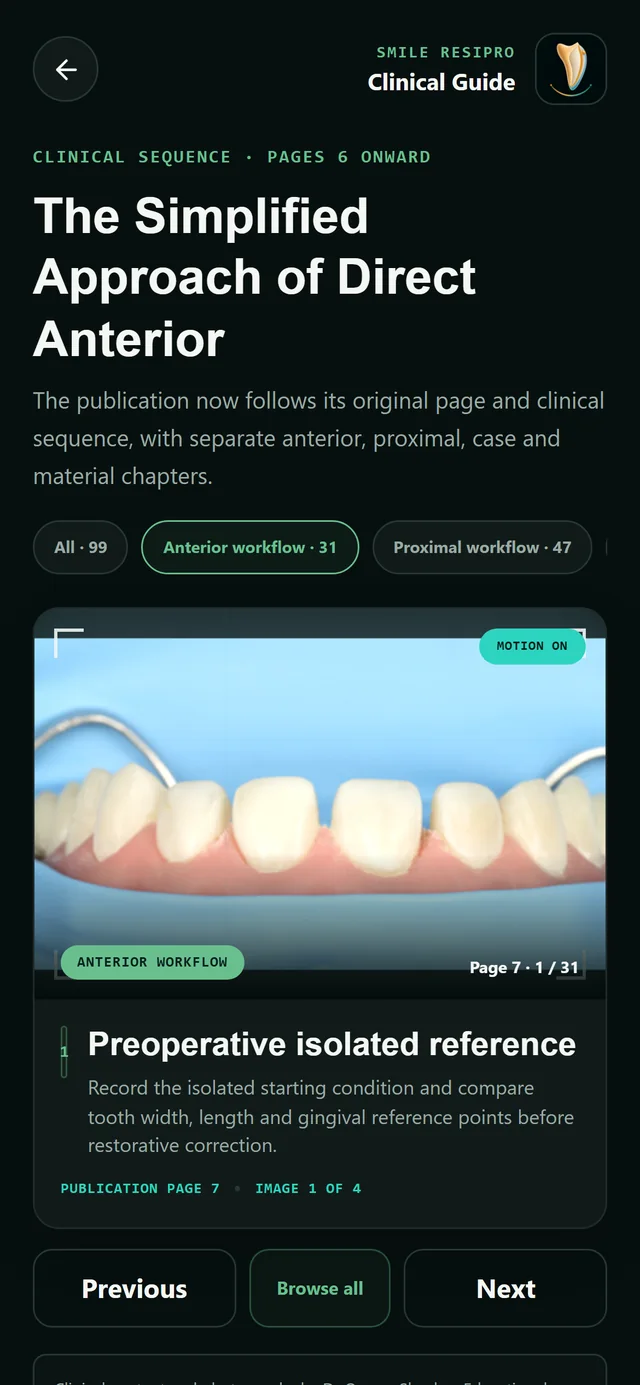
The Simplified Approach of Direct Anterior
Dr. Osama Shaalan's clinical publication, inside the app. Every photo follows the original page and clinical sequence, with separate anterior, proximal, case and material chapters.
- Step through the clinical sequence photo by photo
- Jump straight to a chapter: anterior, proximal, cases or materials
- Each photo keeps its publication page number
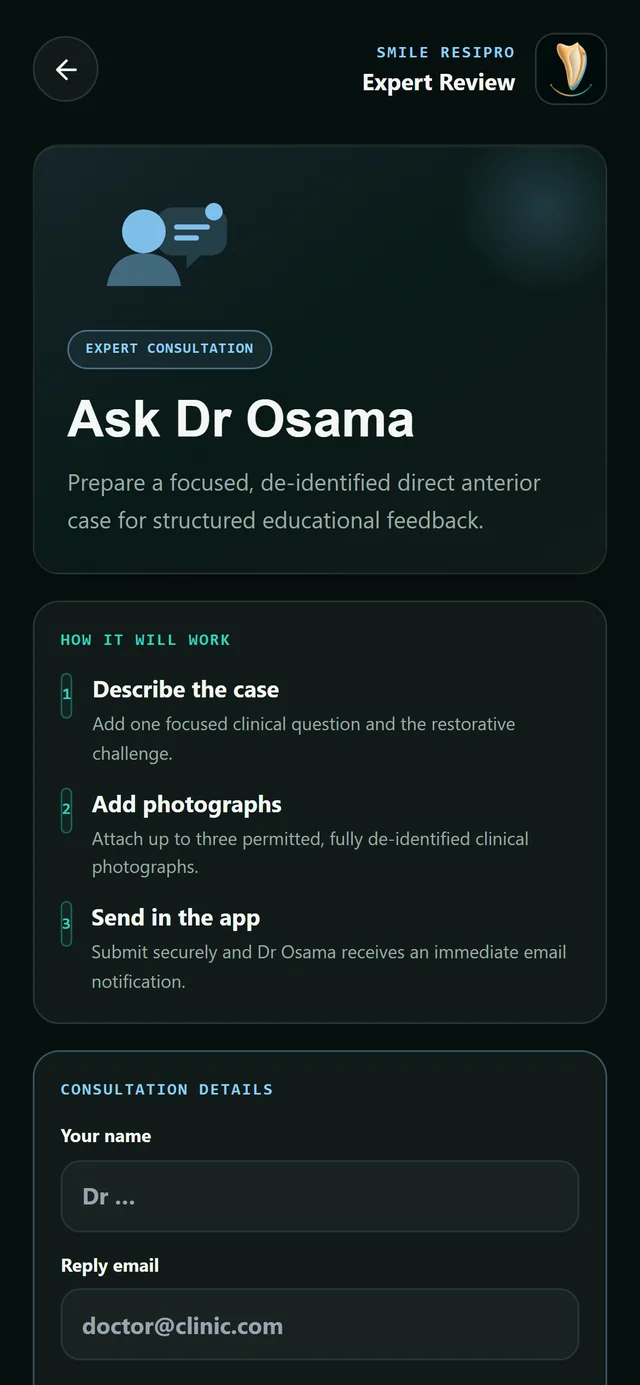
Ask Dr Osama
Prepare a focused, de-identified direct anterior case and send it from the app for structured educational feedback.
- Describe the case with one focused clinical question
- Attach up to three permitted, fully de-identified photographs
- Send it in the app, and Dr. Osama is notified by email straight away
Educational feedback for dental professionals. Remove faces, names and patient numbers before you send.
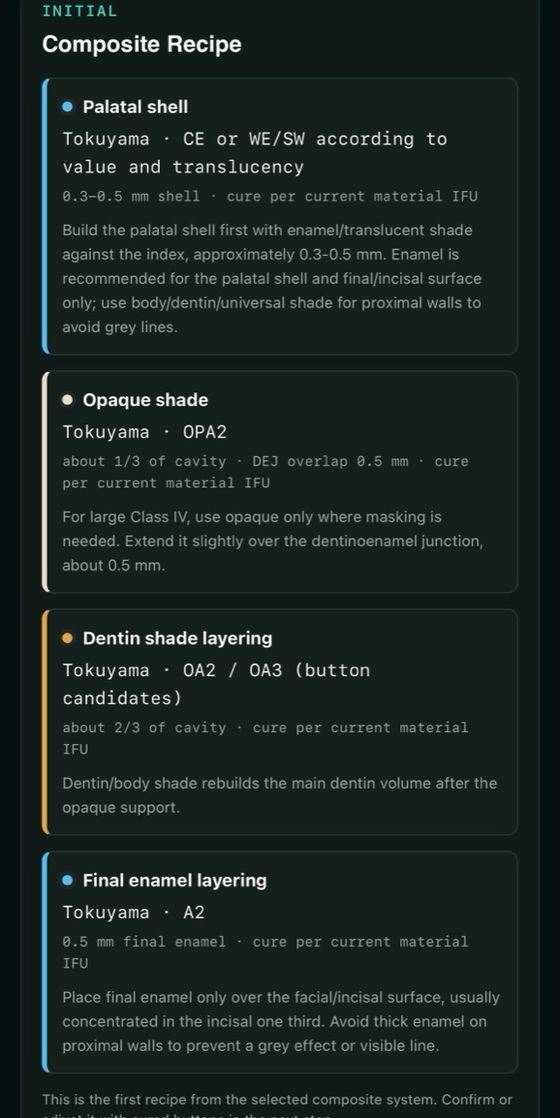
See every layer before you place it
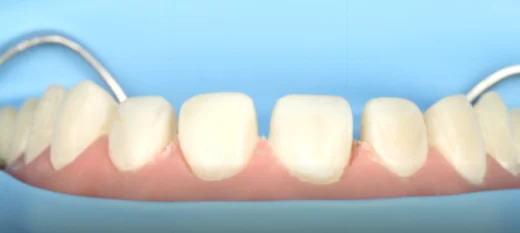
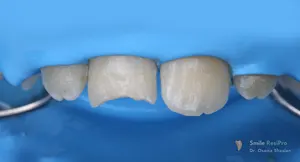
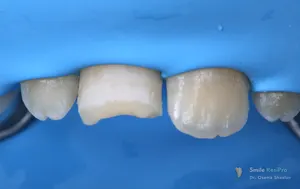
For each case, the app builds a layering reference you can step through at the chair. This is a large Class IV, as Smile ResiPro shows it.
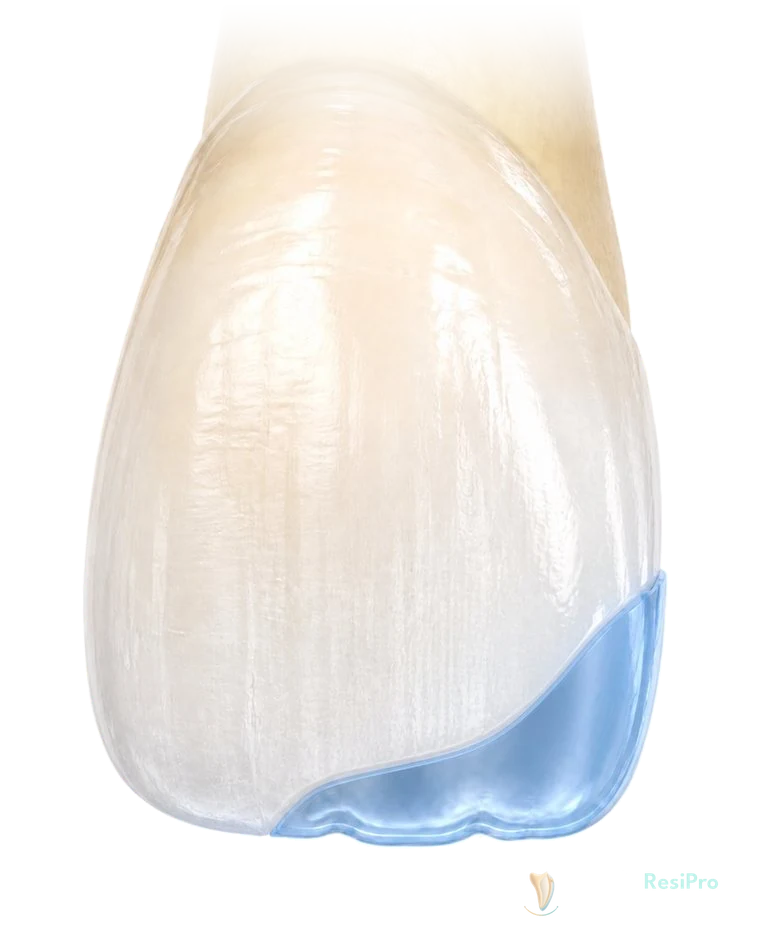
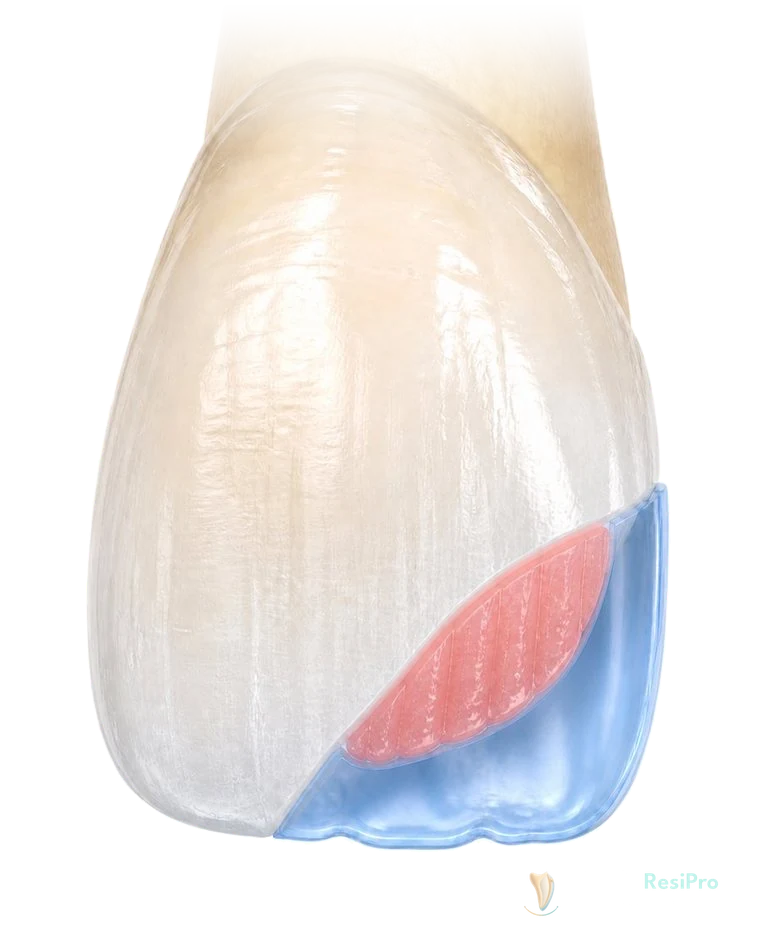
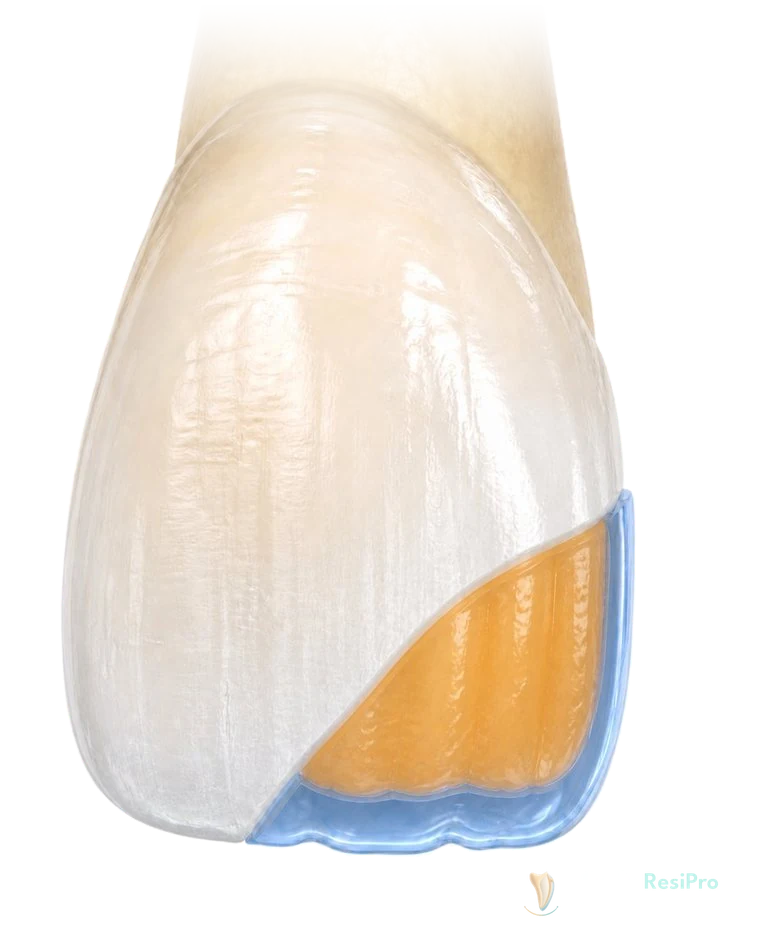
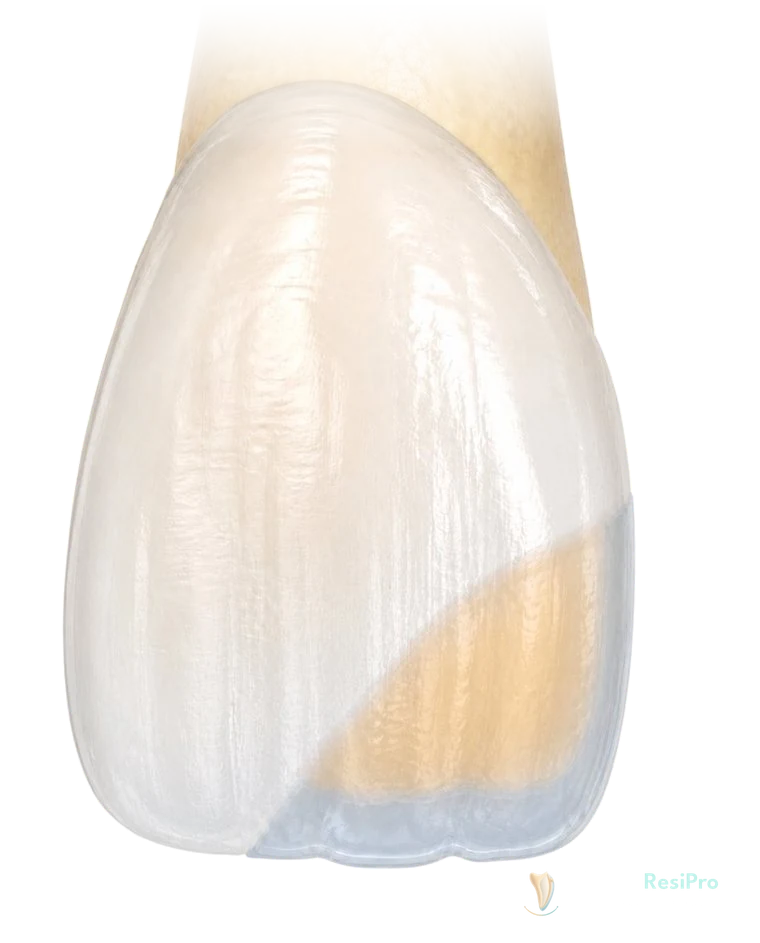
An educational reference. Check shades, thickness and curing for every case against the manufacturer's instructions for use.
Know each layer before you choose it
Composite layers differ in how much light they let through. Use this as a quick guide to what each layer does and where each enamel translucency belongs.
Composite layers by opacity
-
Opaquer
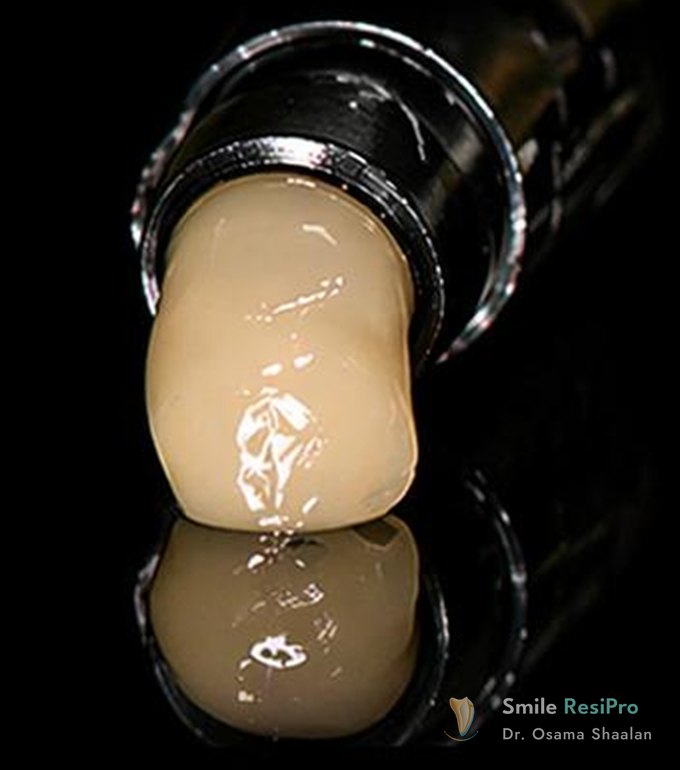
Masks dark areas and increases opacity
-
Dentin
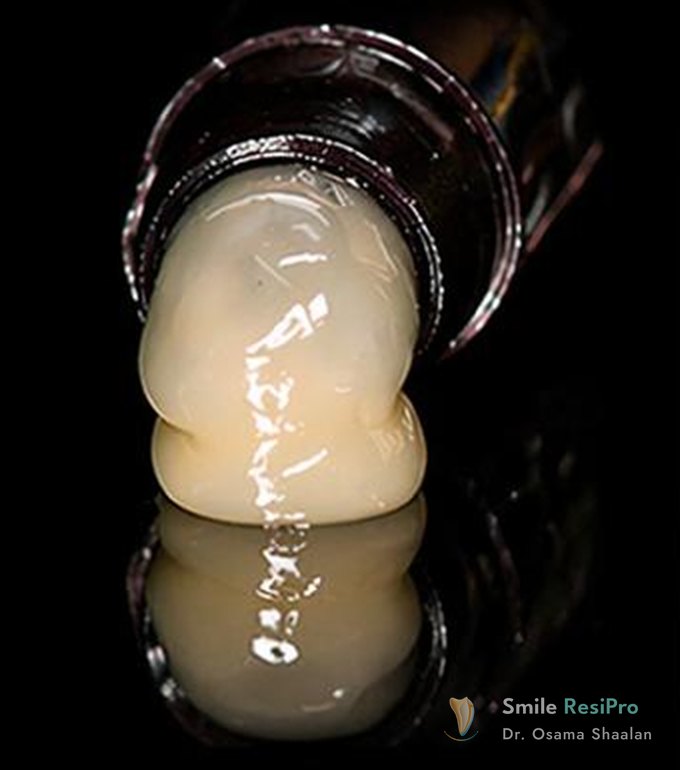
Provides body, warmth and chroma
-
Enamel
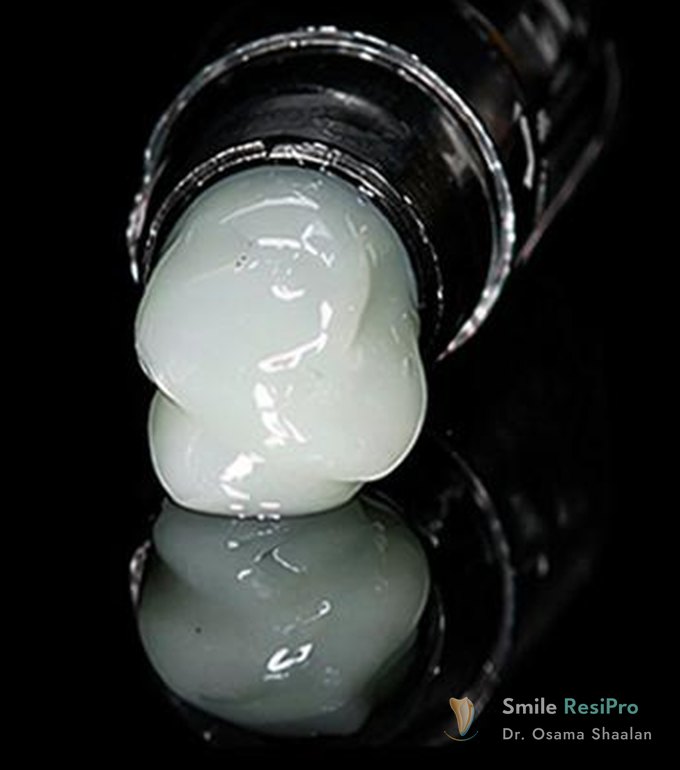
Mimics natural enamel translucency and value
-
Translucent
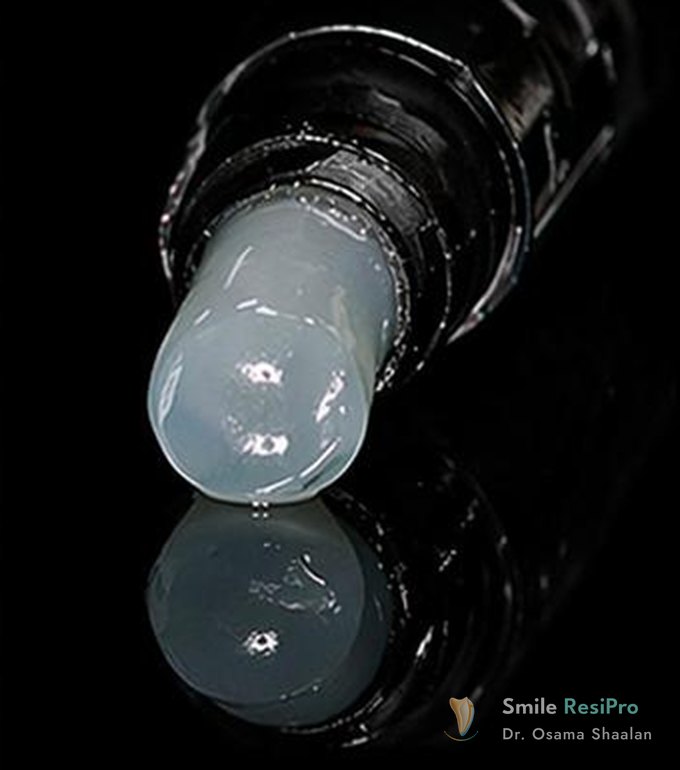
Adds depth and internal translucency
Enamel translucency
Choose the right translucency for natural and predictable results.
-
Transparent
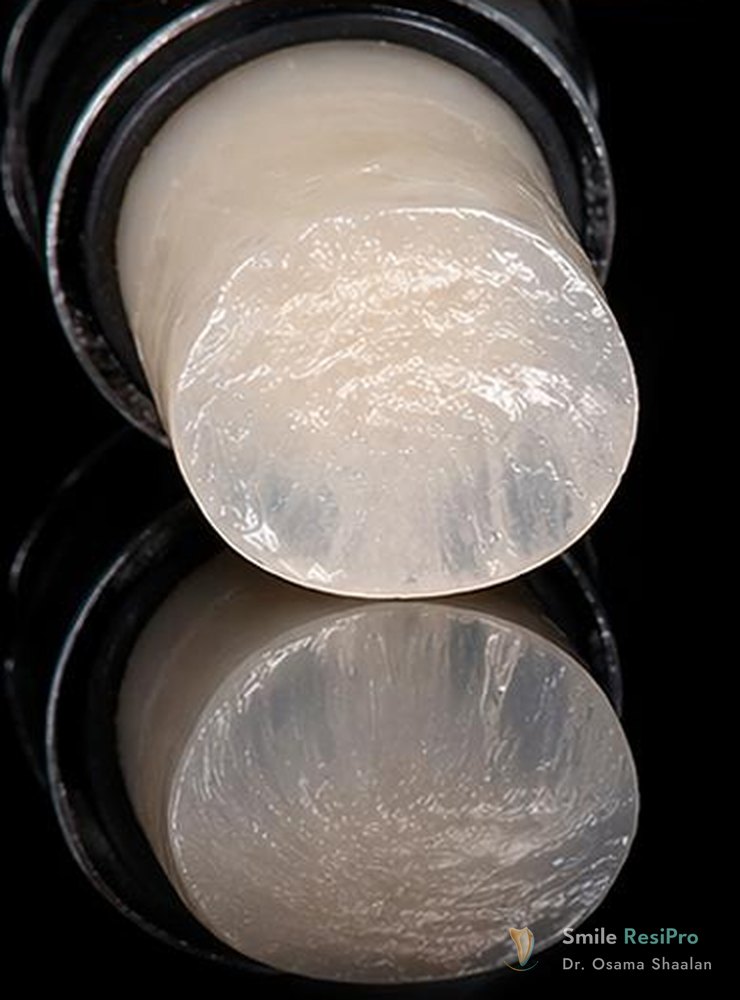
- Highest translucency
- Incisal edges
-
Medium translucent
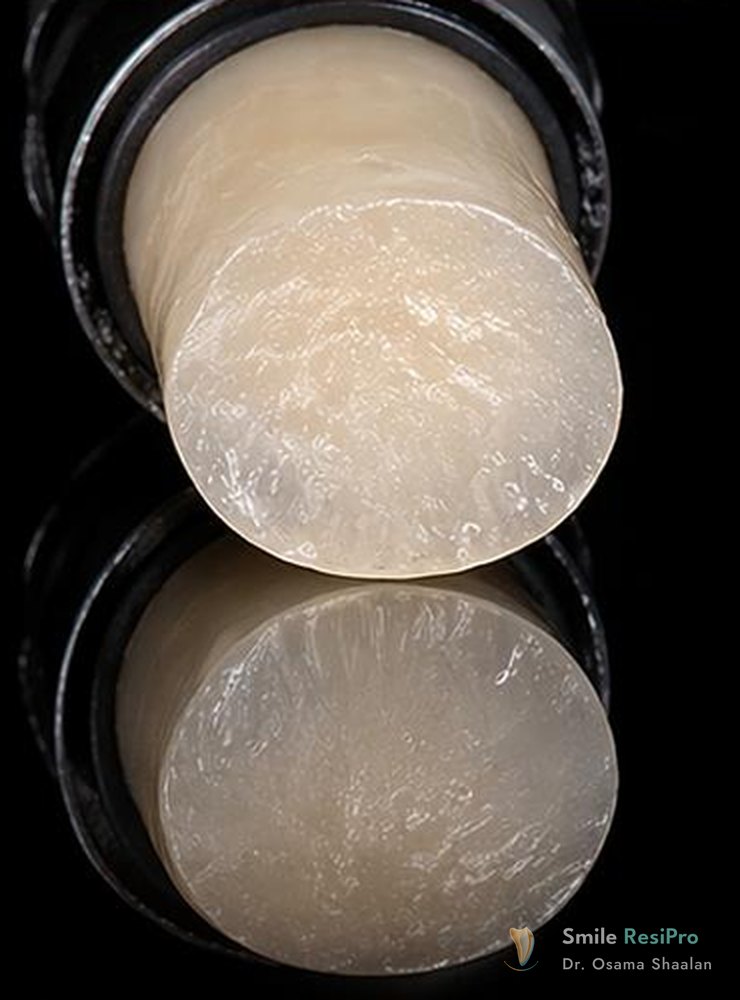
- Medium translucency
- Middle third
-
Low translucent
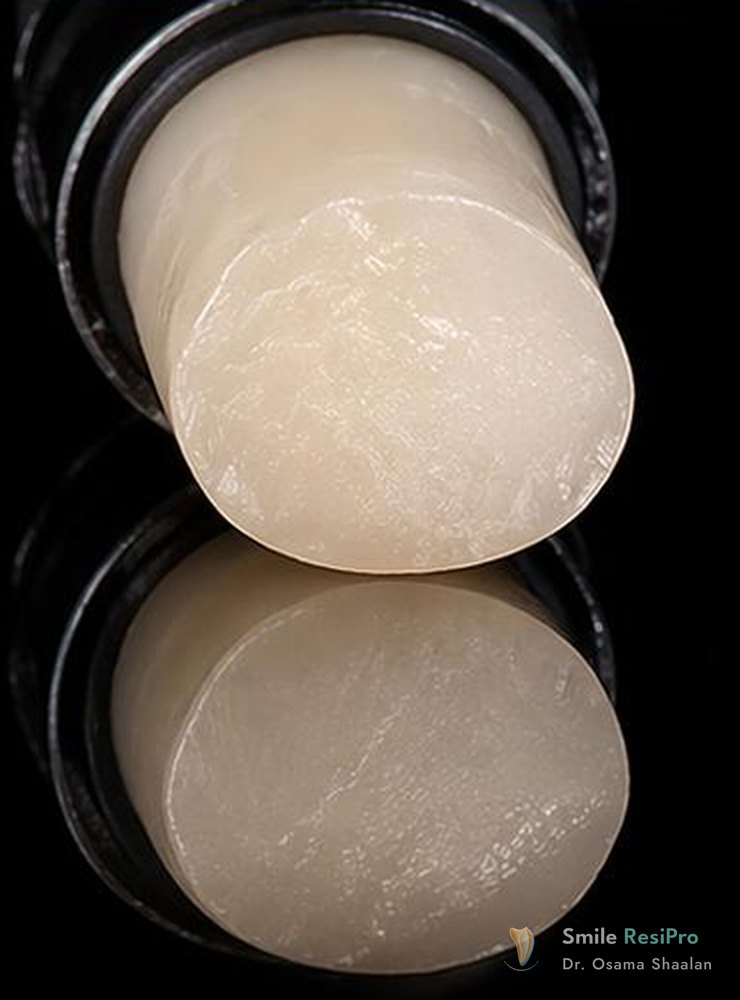
- Lower translucency
- Cervical third
Photos by Dr. Osama Shaalan. Opacity and translucency vary between brands and shades, so check each system against its instructions for use.
From photo to final polish in five steps
The same workflow Dr. Shaalan teaches in his hands-on courses, organised so you can follow it chairside.
-
Plan the case
Choose the restoration type, the tooth and the cavity size. The app suggests a layering strategy, or you pick single-shade or multi-shade yourself.
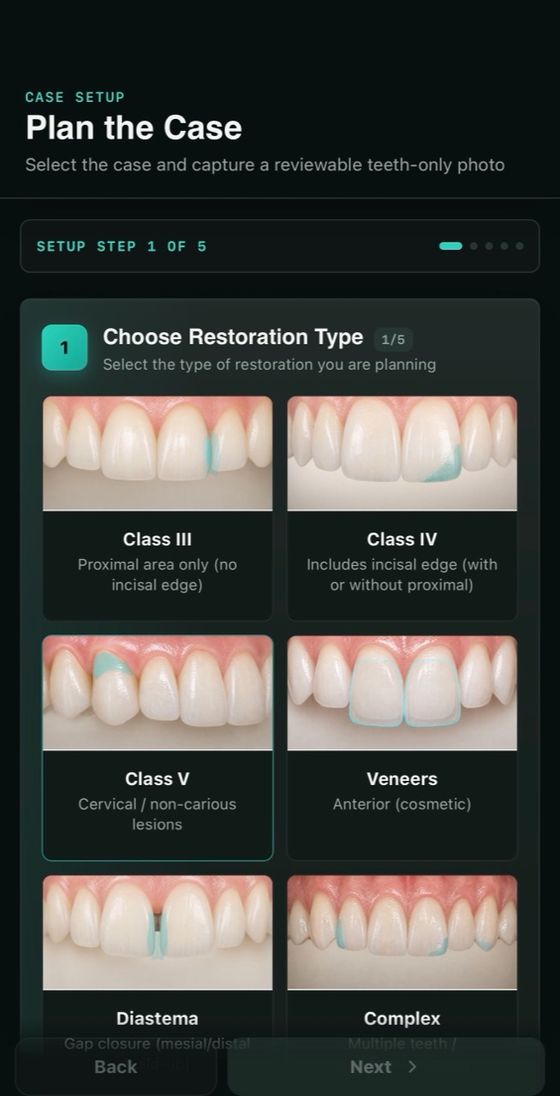
Restoration type 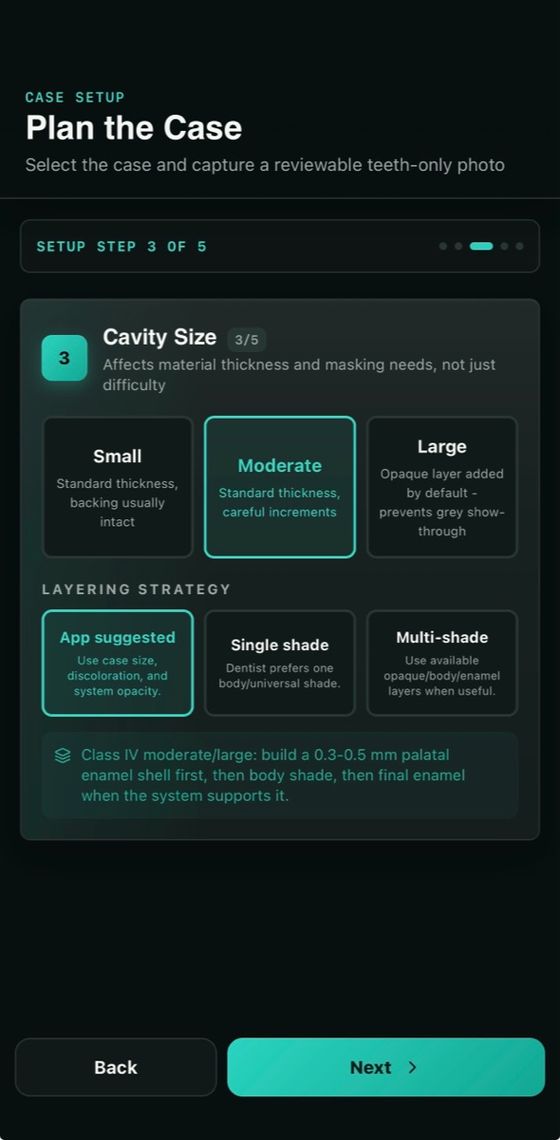
Cavity size and strategy -
Capture and mark the photo
Take a cross-polarised, teeth-only photo on a black background. Mark the adjacent tooth and, if you like, a VITA tab as shade references.
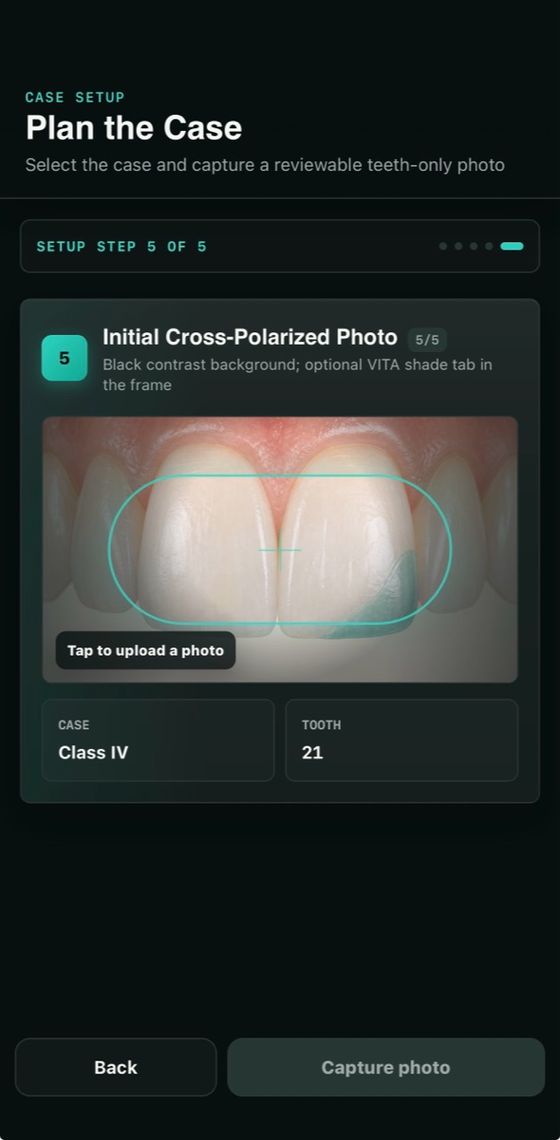
Cross-polarised photo 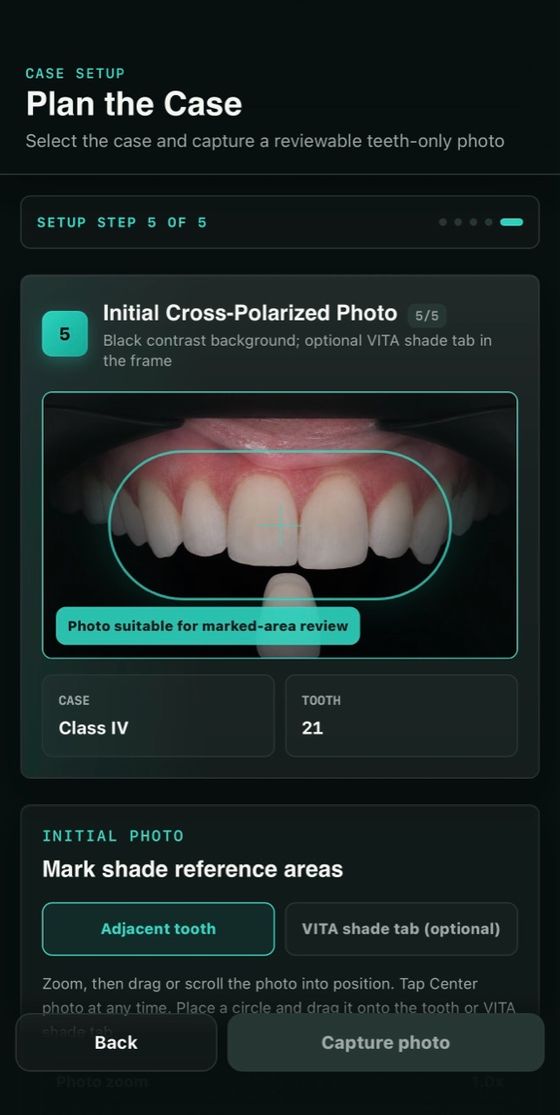
Shade reference areas -
Choose your composite
Pick from 59 composite systems by 26 manufacturers, or mix shades across brands. You get an initial plan for every layer.
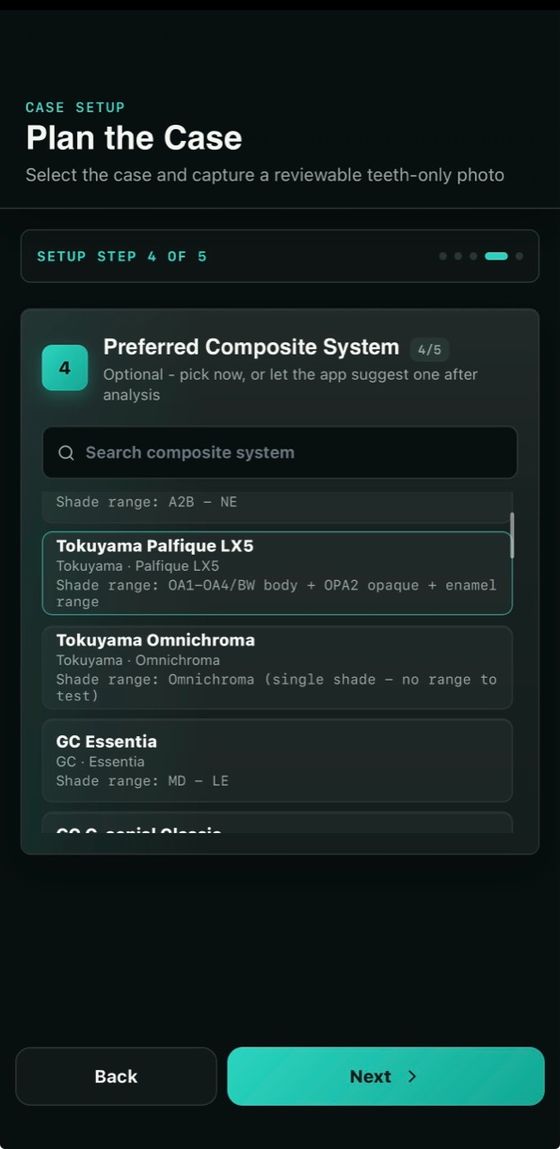
Composite library Initial plan -
Confirm with cured buttons
Cure small buttons of the candidate shades on the tooth, photograph and label them, then compare the match before you commit.
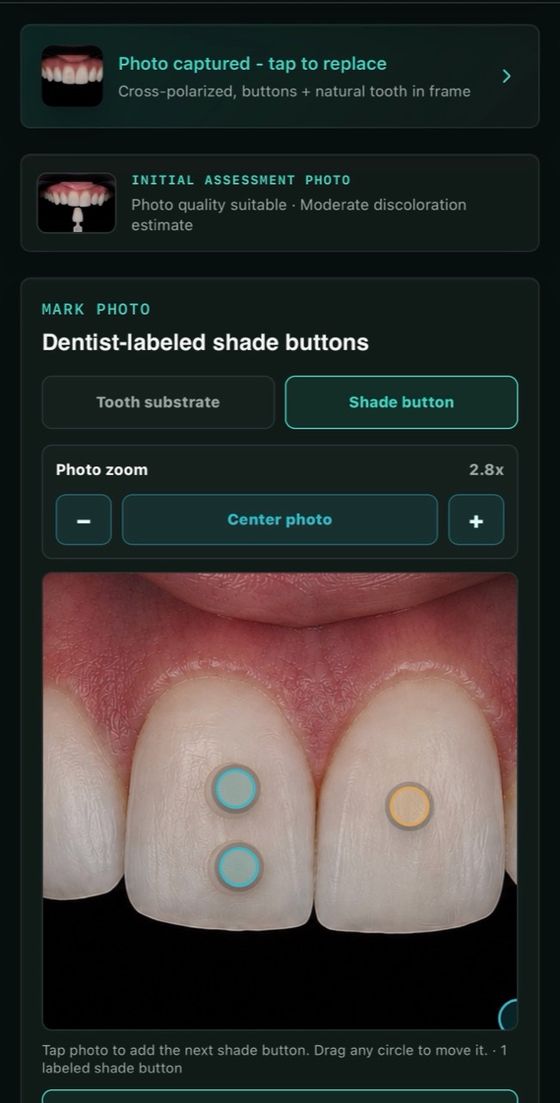
Label the buttons 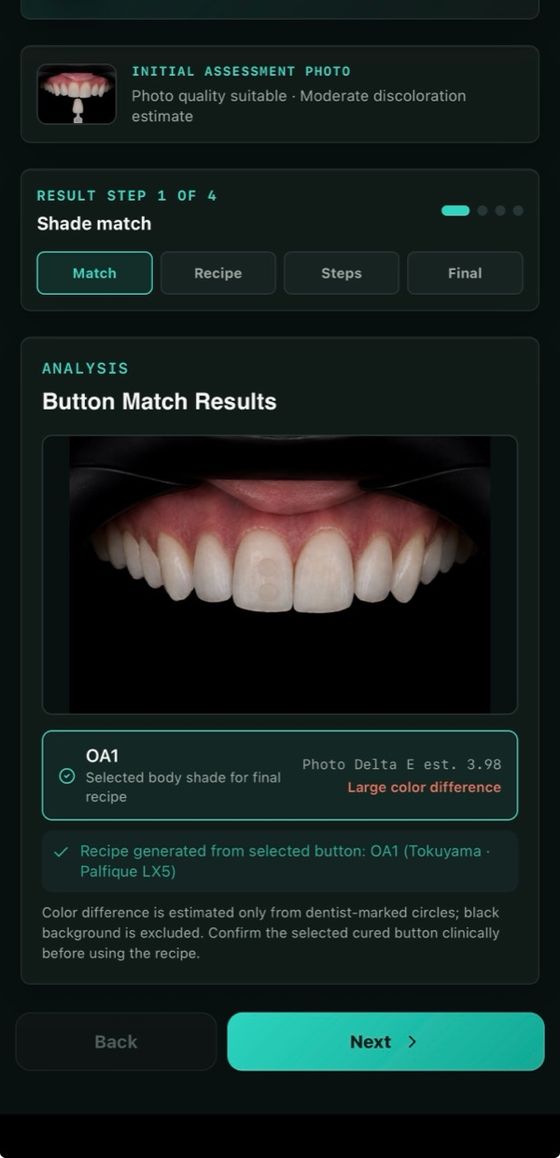
Button match results -
Layer, finish and document
Follow the procedure from isolation to polishing, compare the initial and final photos, and save the case as a PDF for your records.
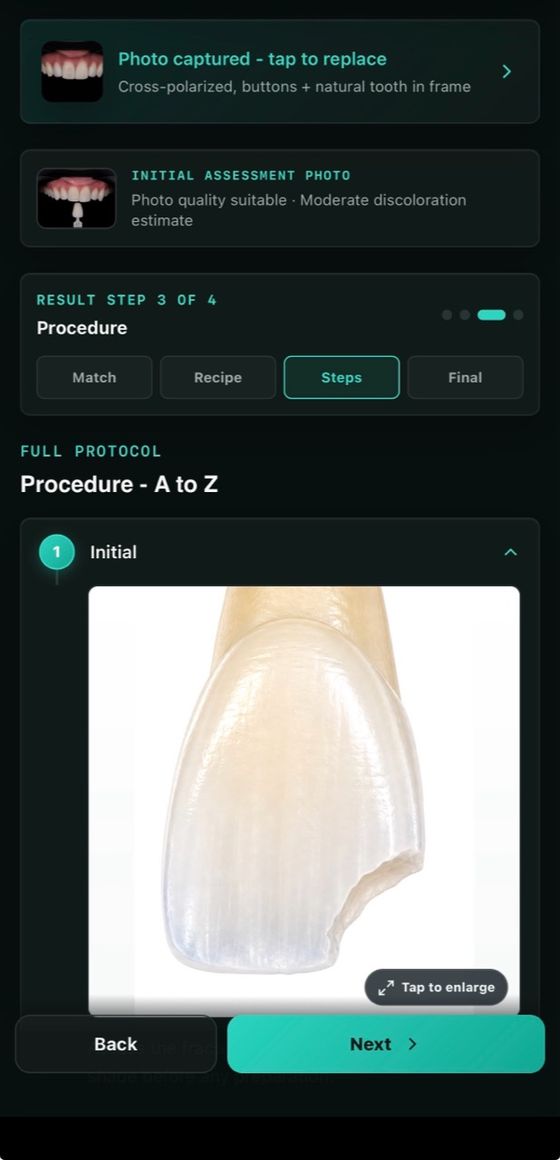
Procedure A to Z 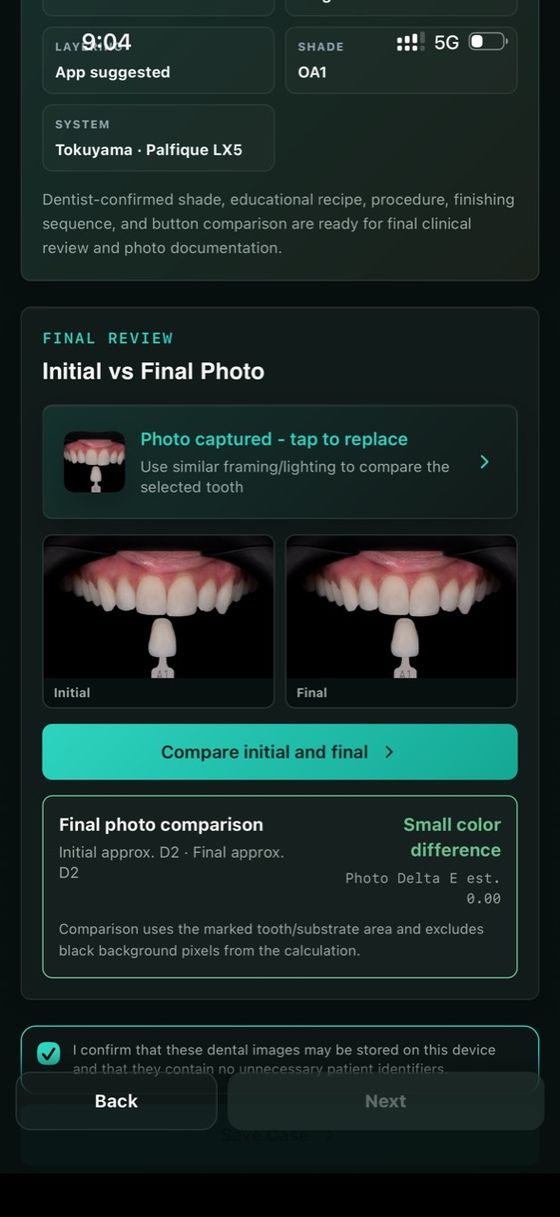
Initial and final comparison
A simplified approach, step by step
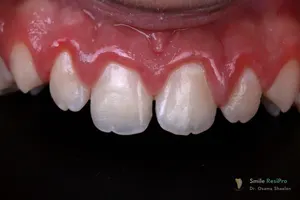
Smile ResiPro doesn't stop at the plan. It walks you through the whole procedure in a simple order, from shade selection to the final result. Here is a Class IV fracture restored that way by Dr. Osama Shaalan.

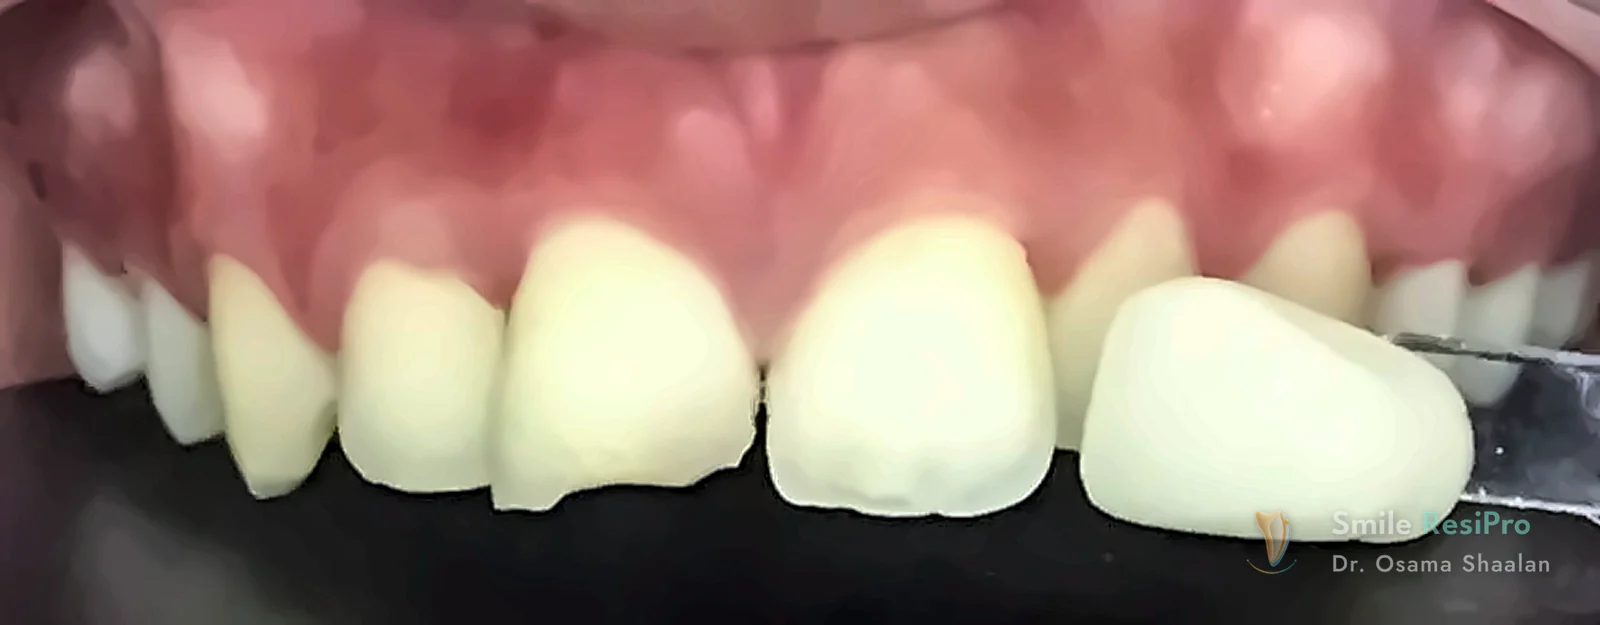

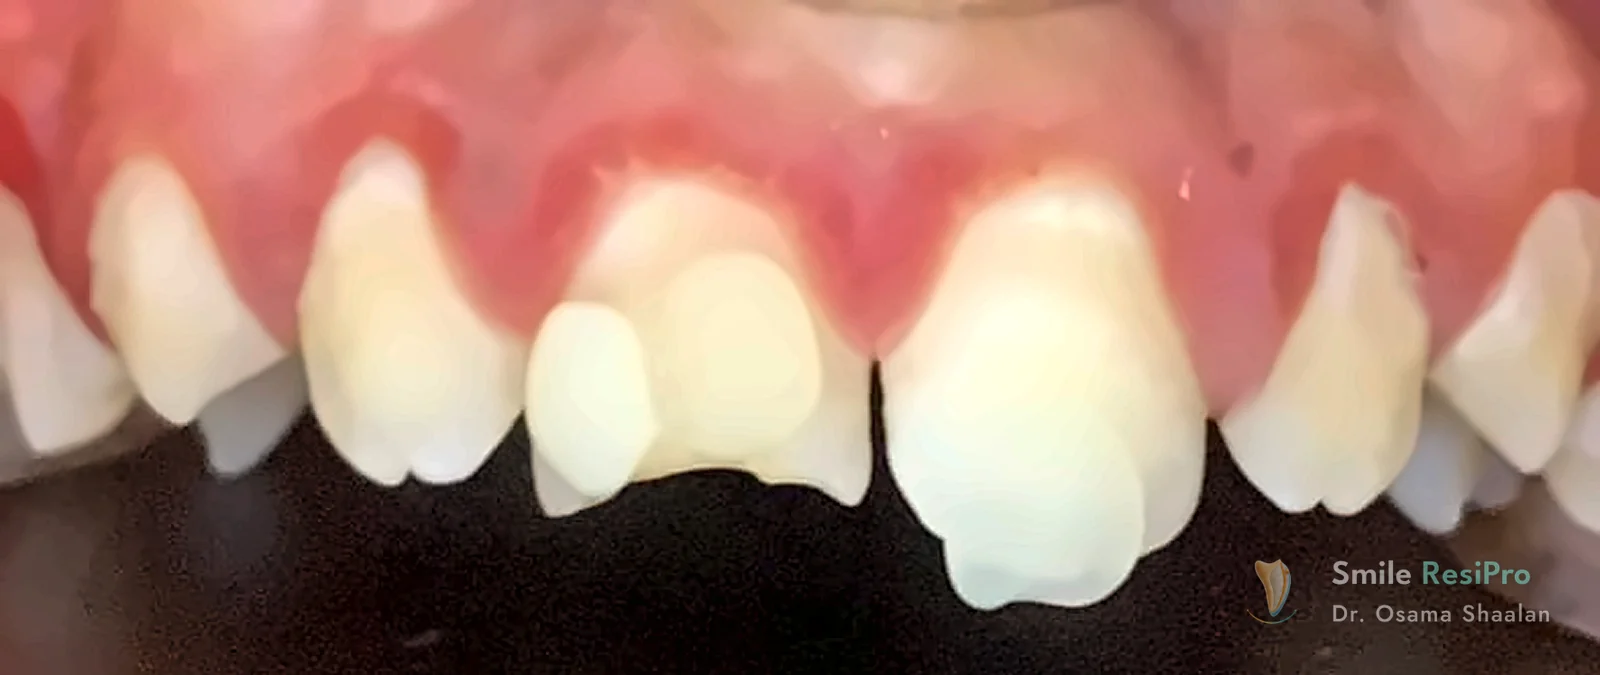

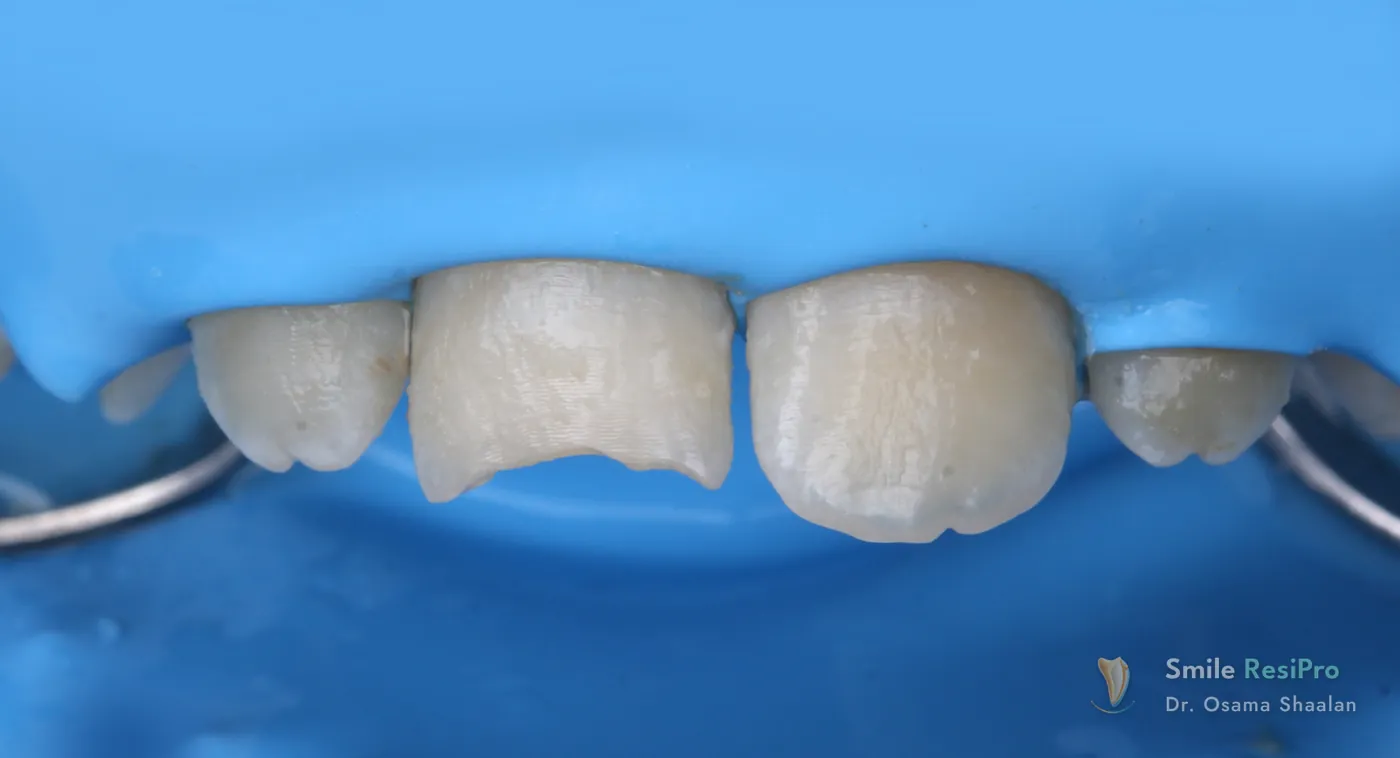

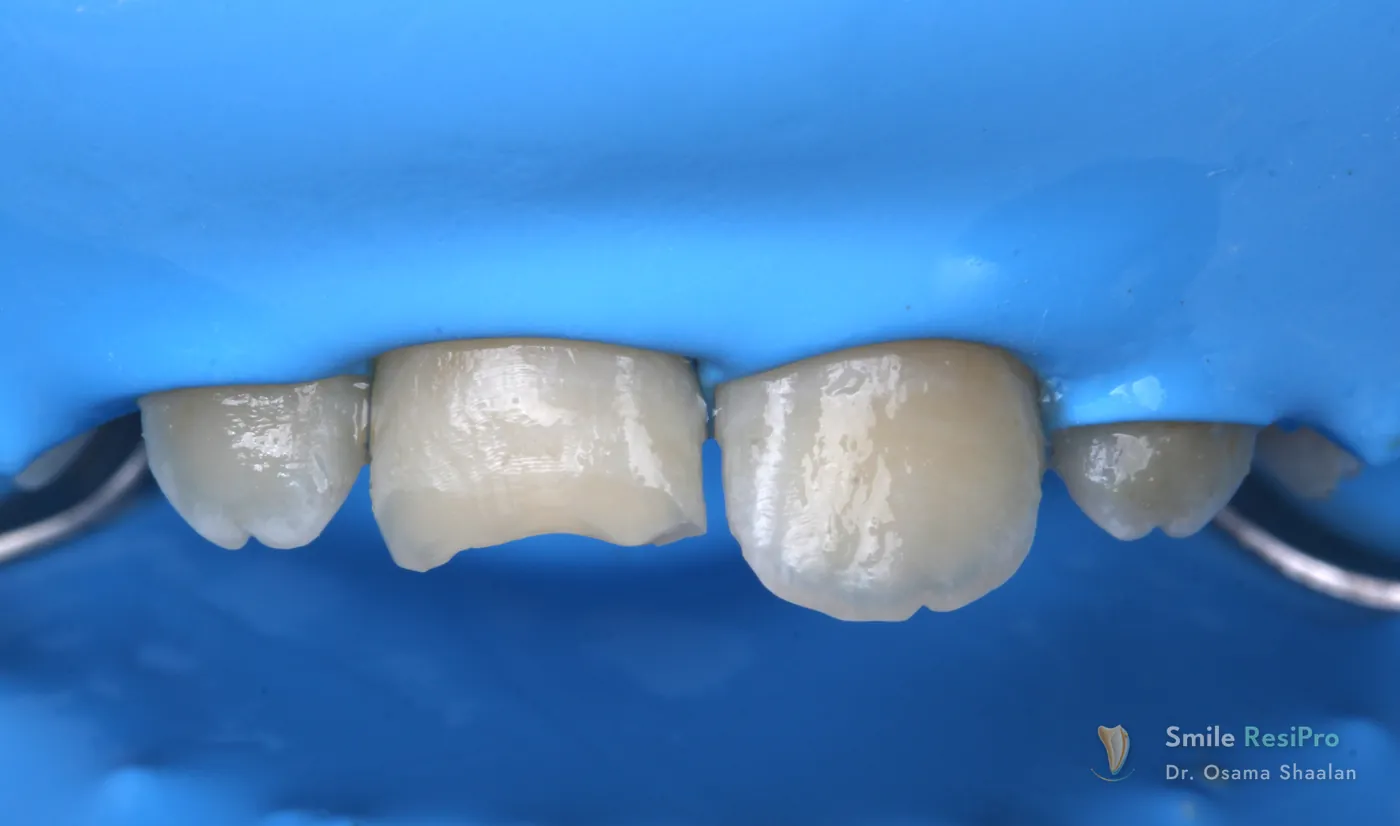

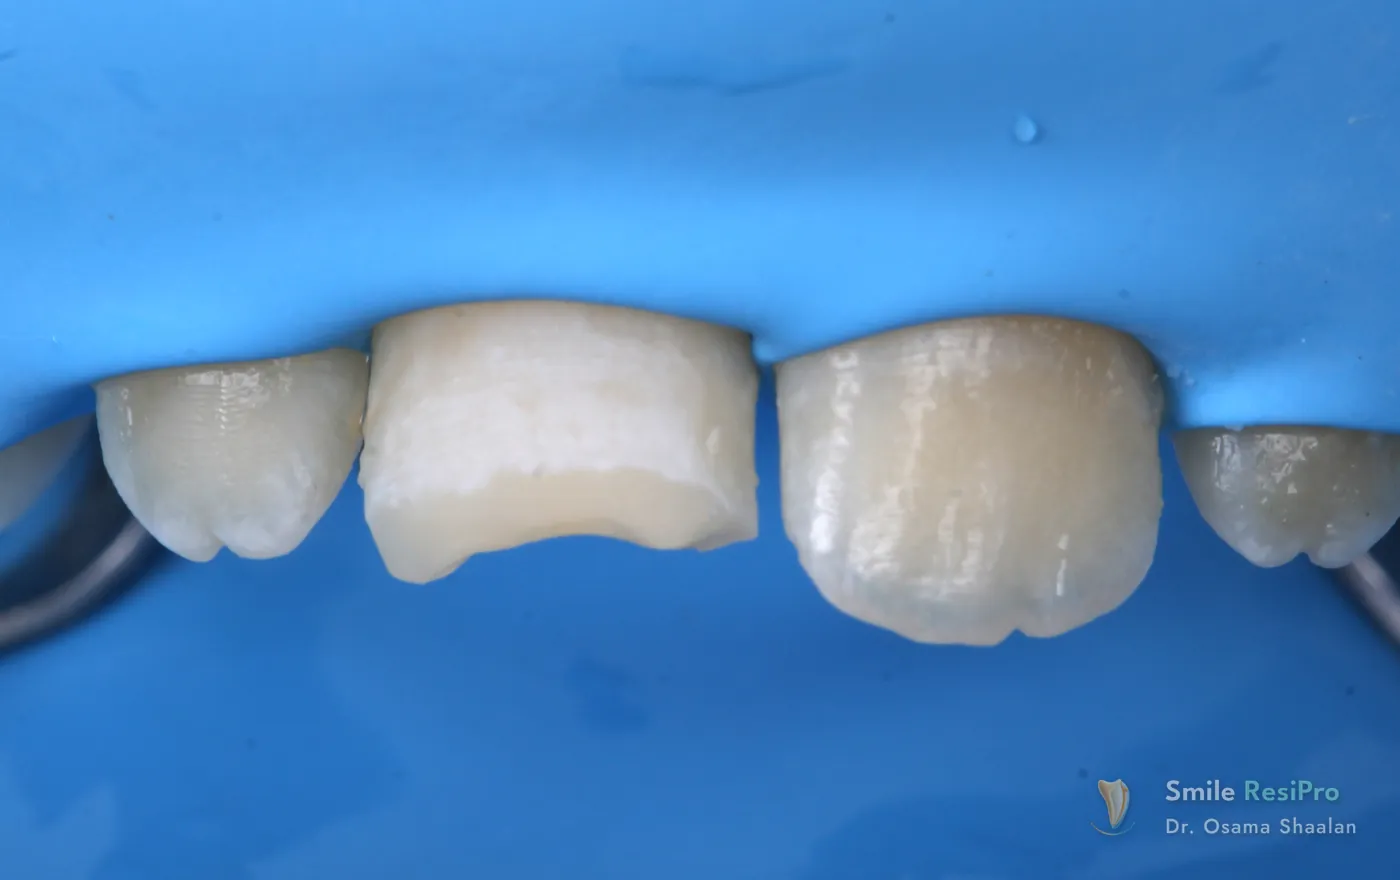

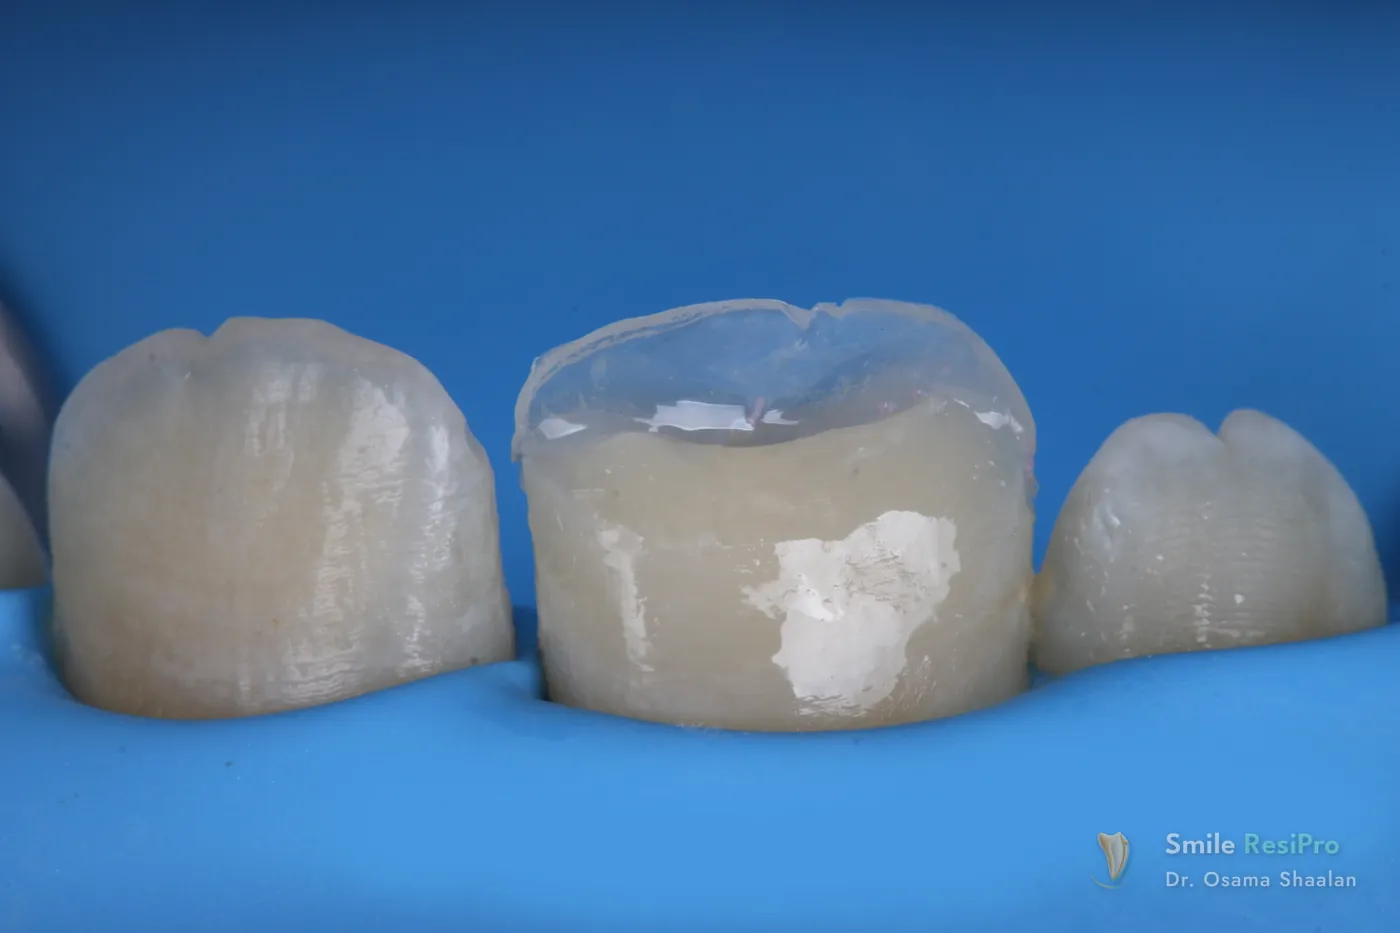

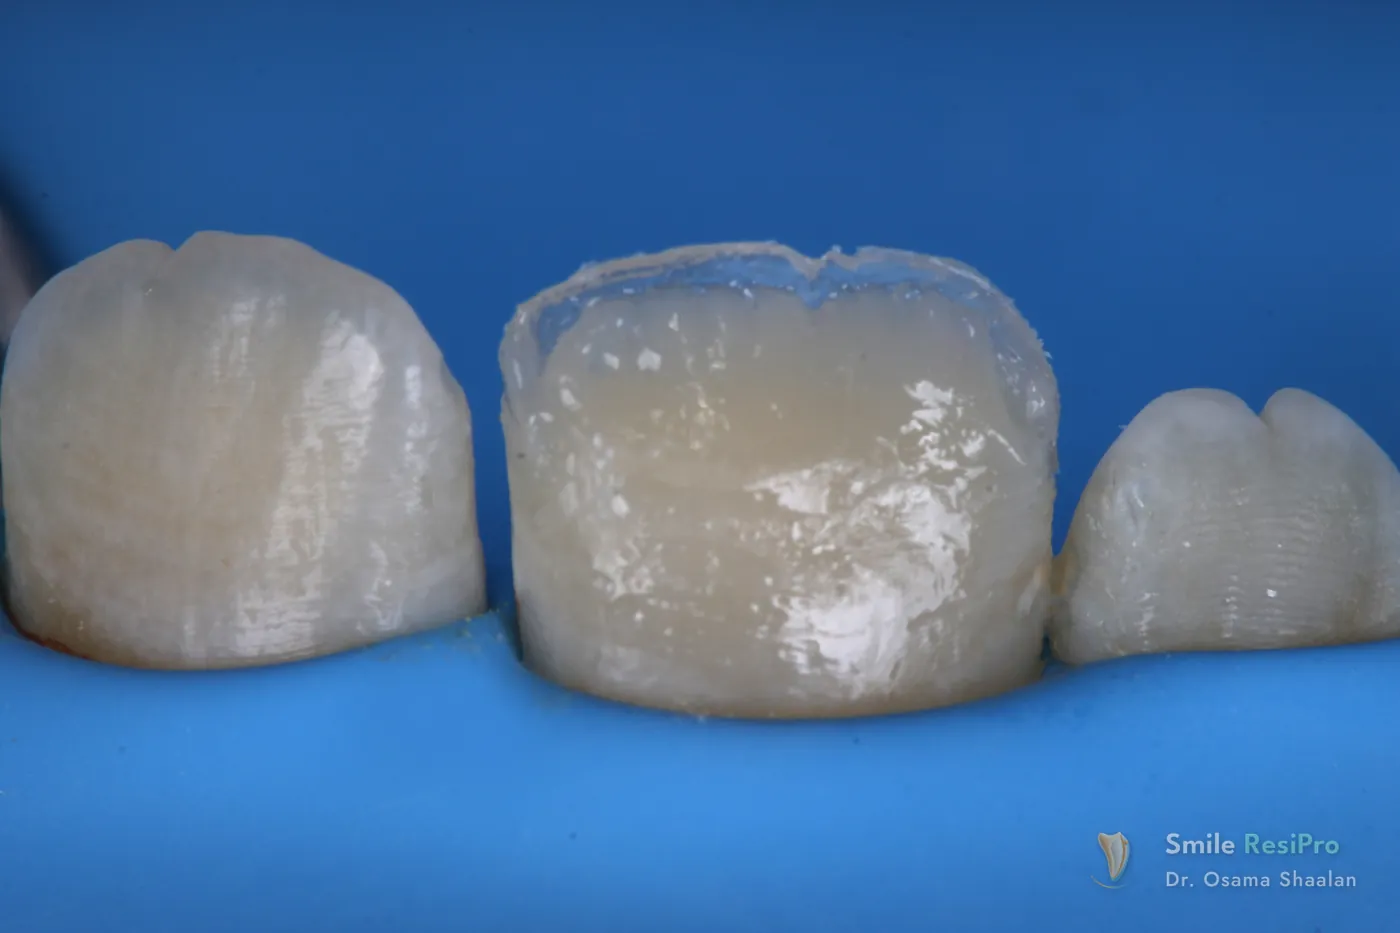

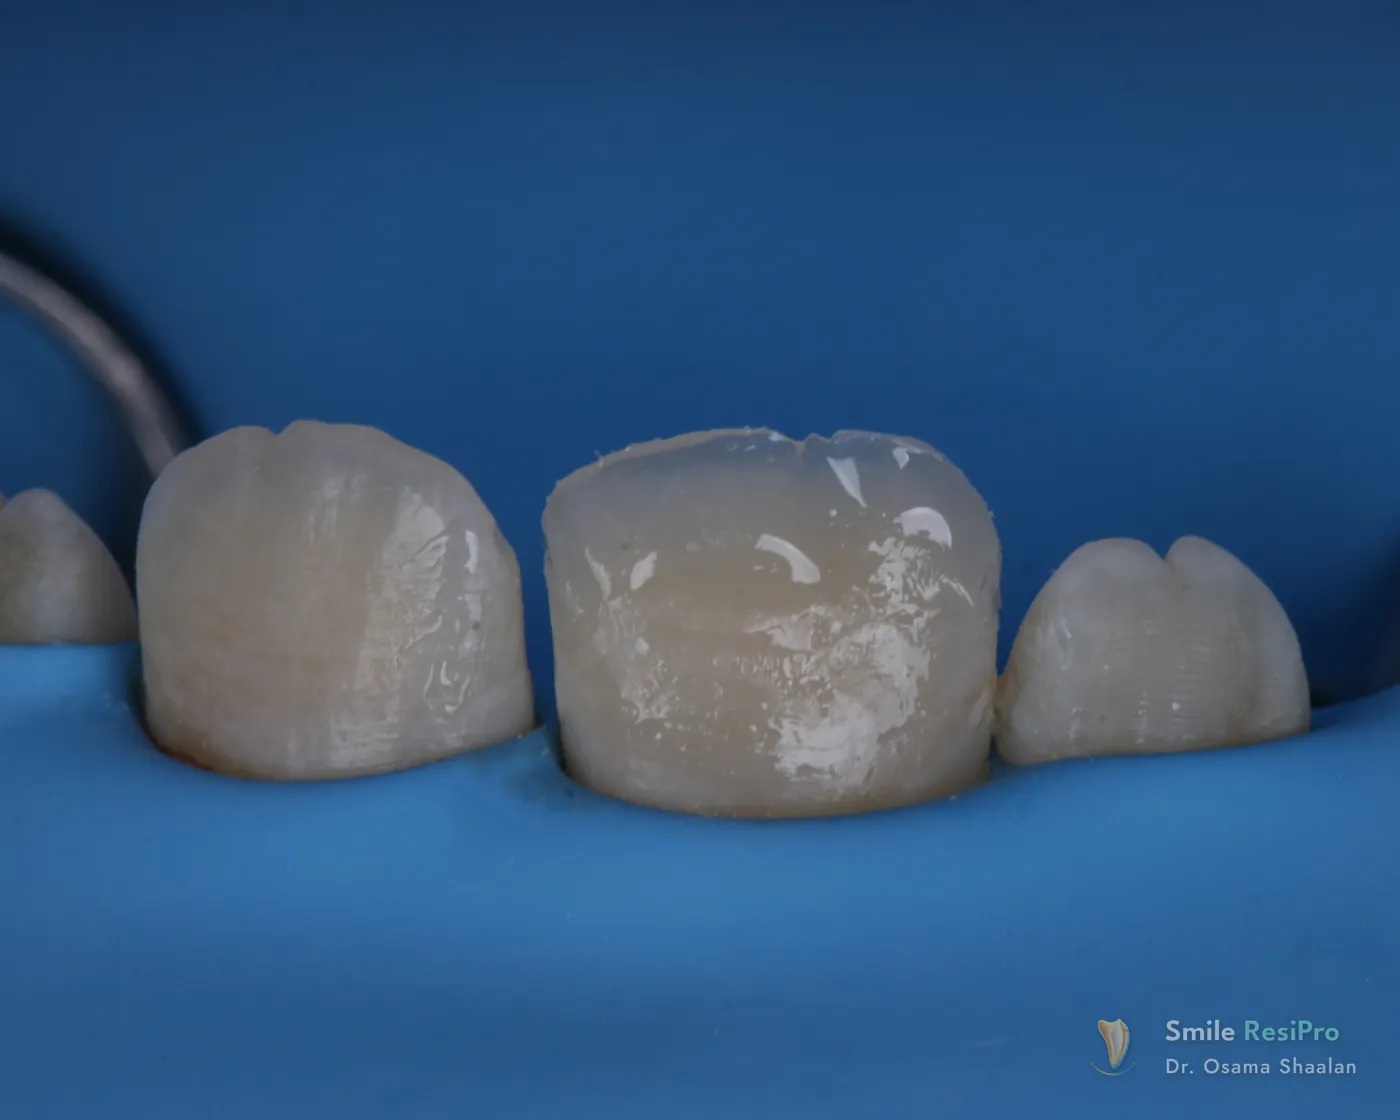

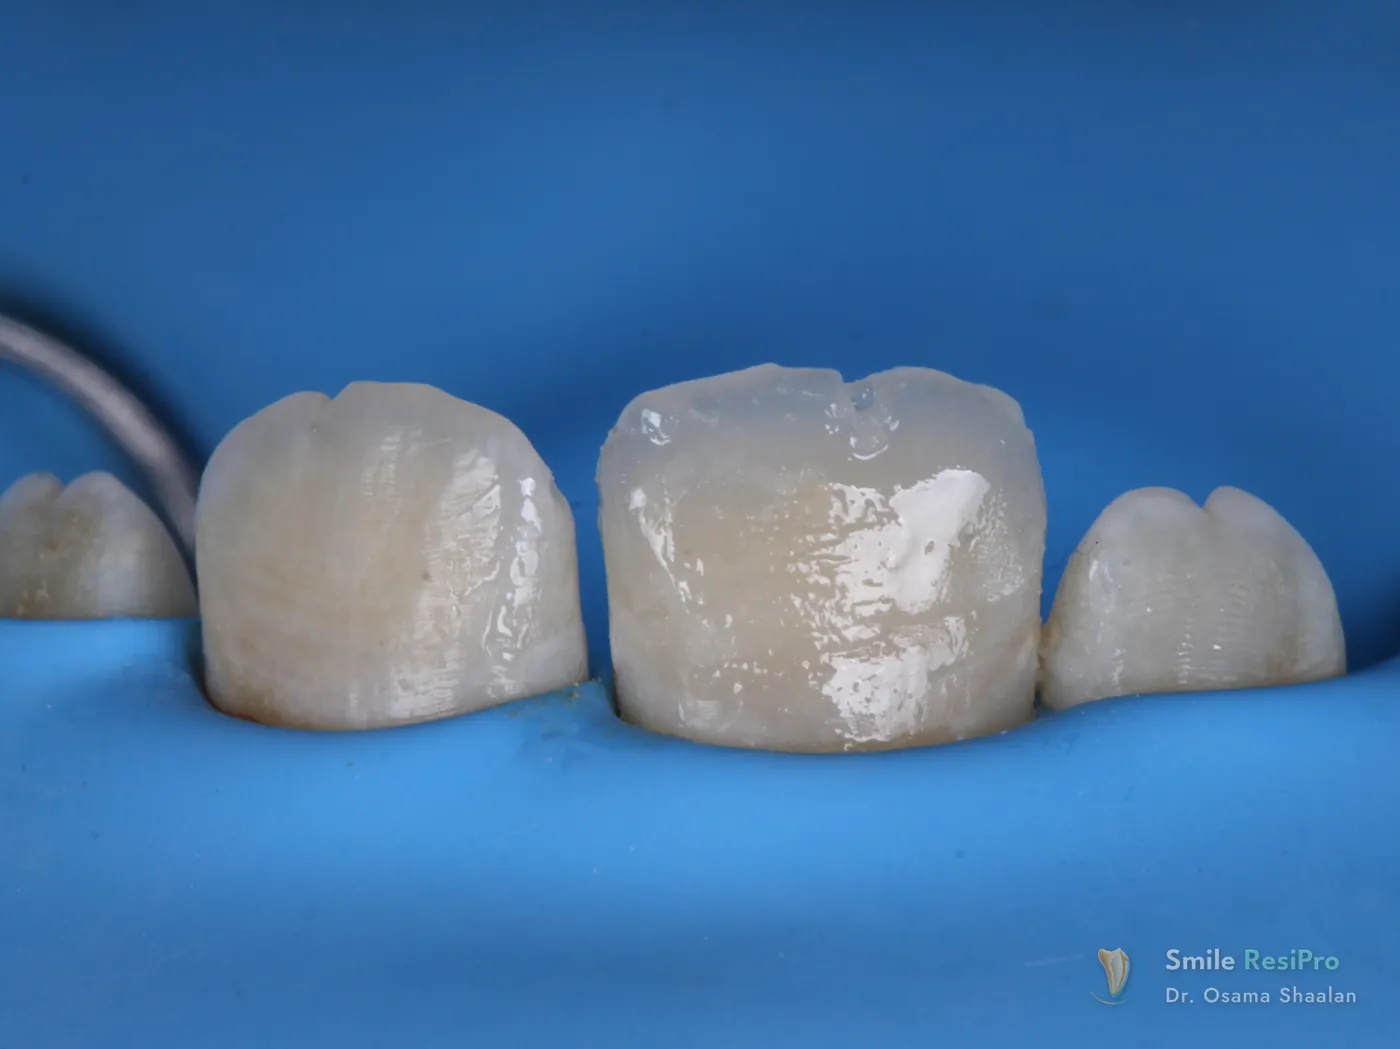

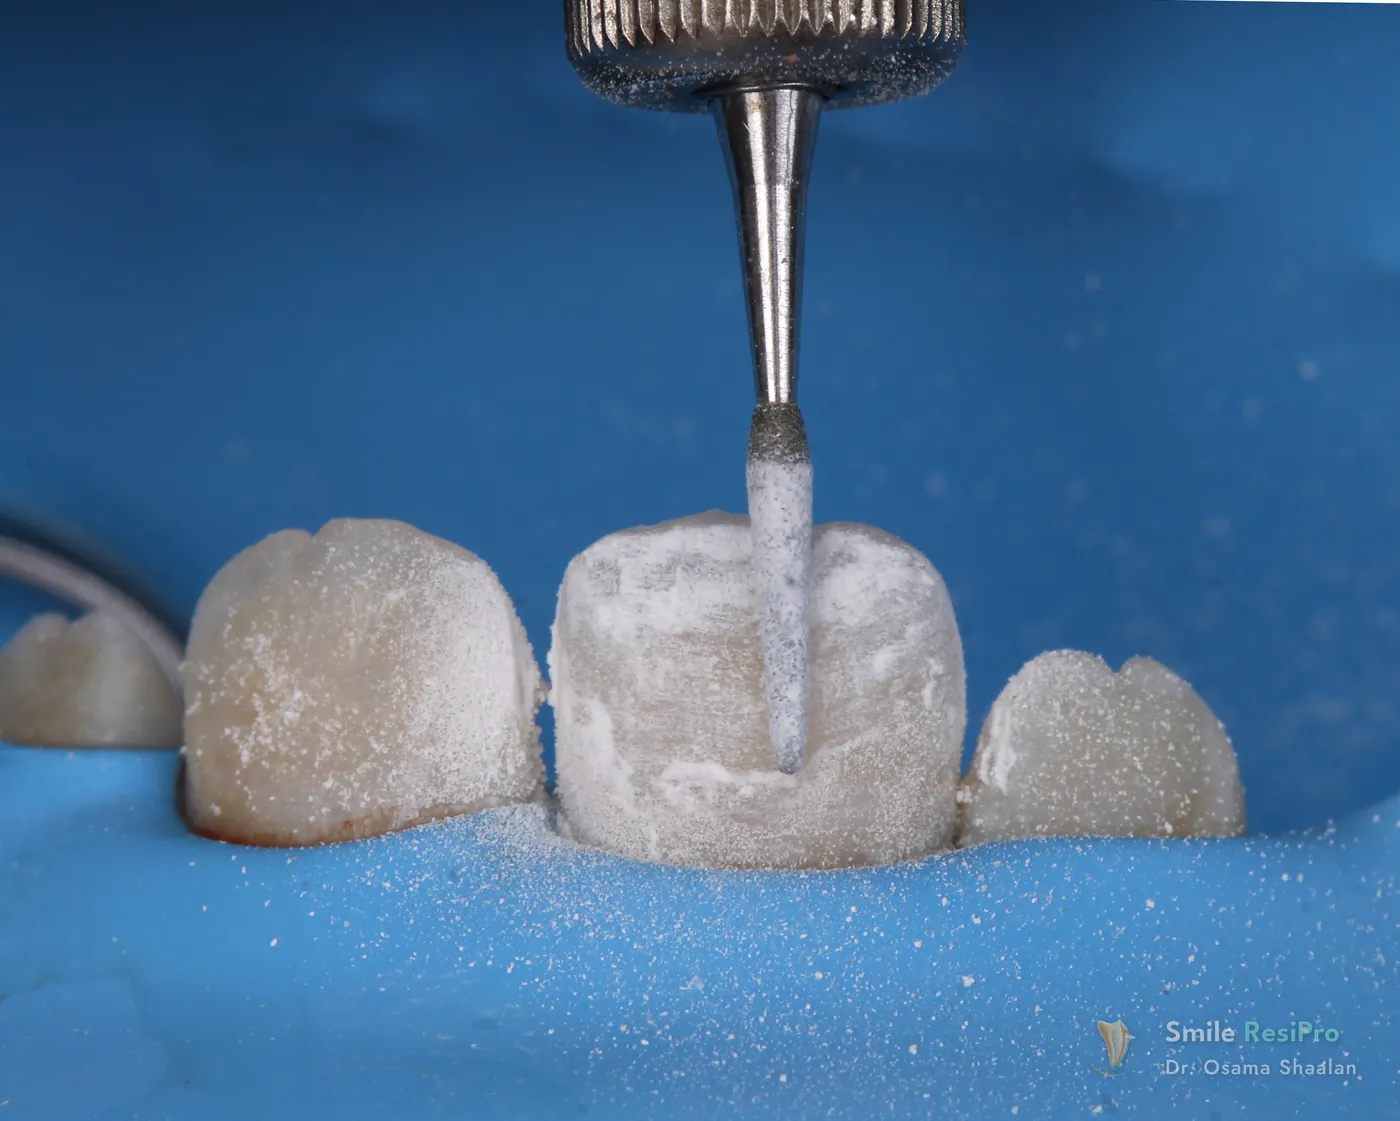

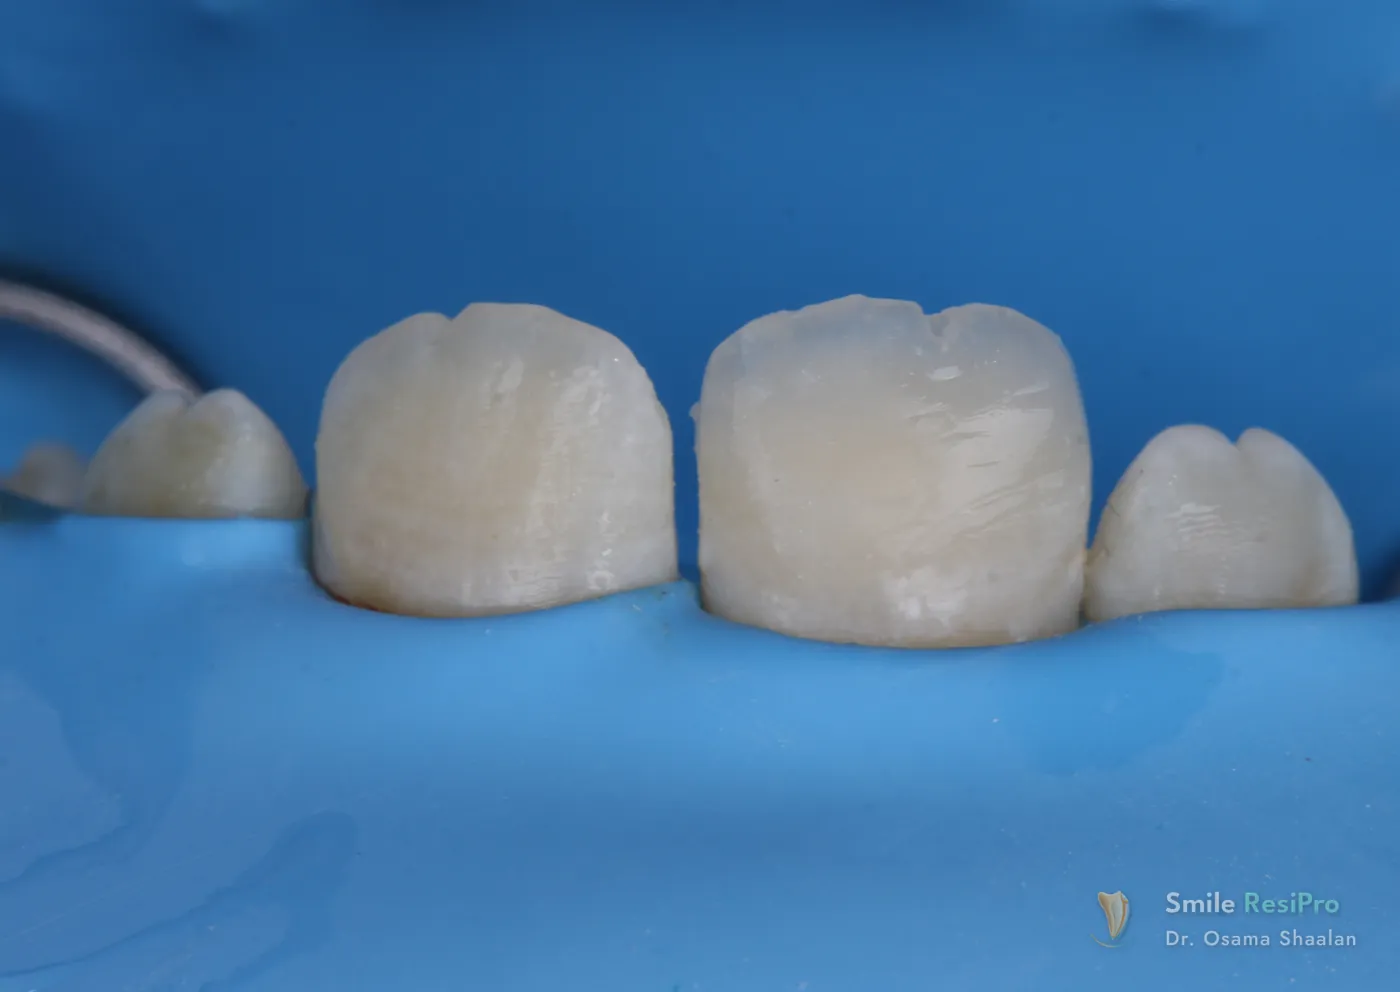

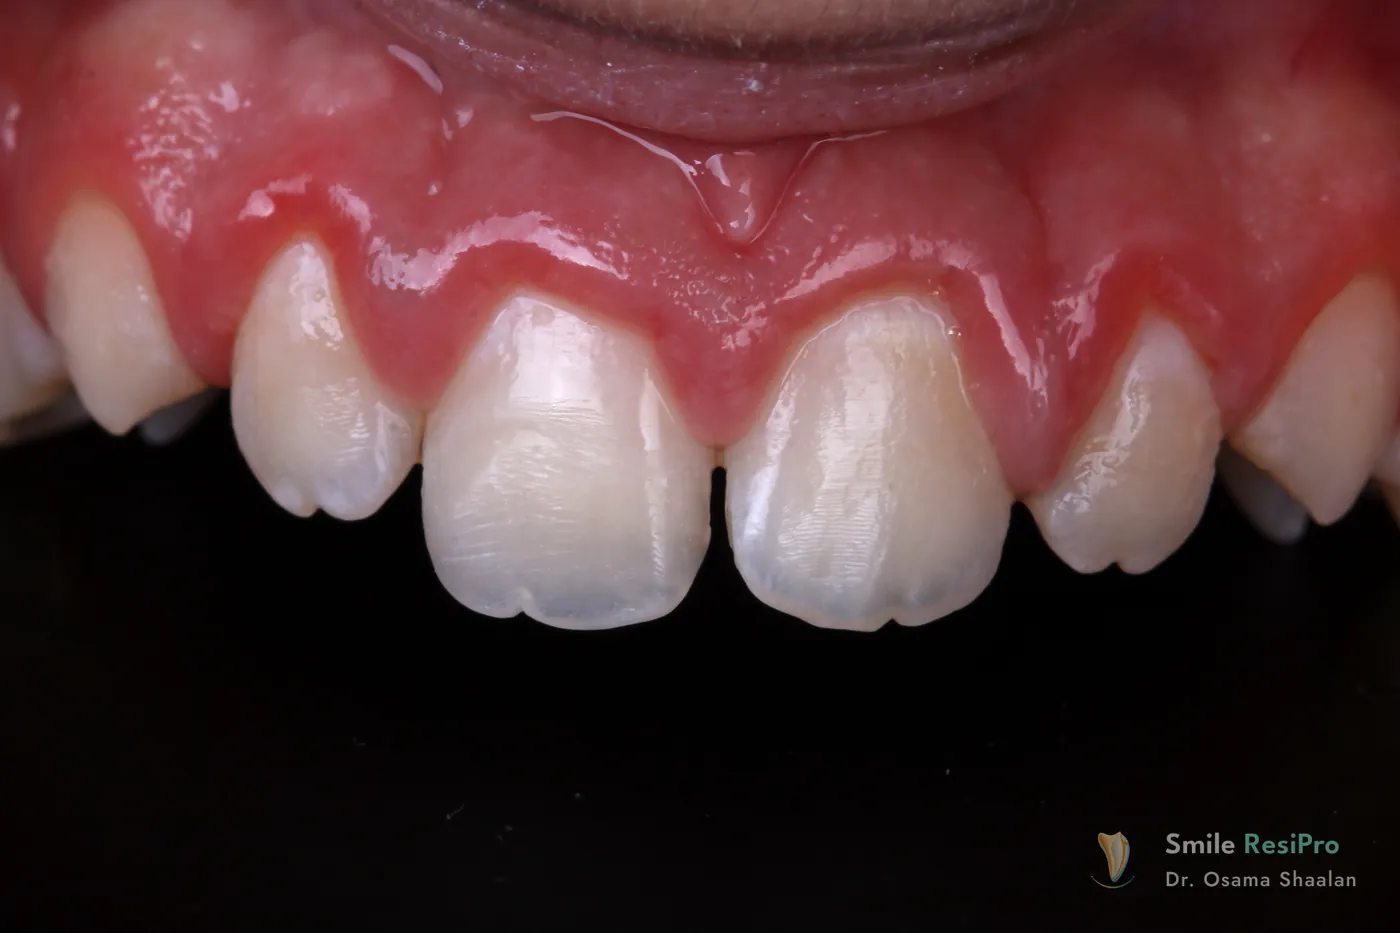
of 12Step 1 of 12
Shade
VITA shade selection
Choose the reference before dehydration
Clinical photos by Dr. Osama Shaalan. An educational sequence: clinically verify every step and follow the current material instructions for use.
Built for the anterior cases you see every week
Restorations
- Class III
- Class IV
- Class V
- Direct composite veneers
- Diastema closure
- Complex cases
Layering strategies
- App suggested
- Single shade
- Multi-shade
Your composites
59 systems from 26 manufacturers are built in. Choose the one on your shelf, or mix shades from different brands. Browse the composite library
Photos stay on your device
Case photos and notes are processed and stored on your iPhone or iPad. Nothing leaves it unless you export or share it, or send a case to Ask Dr Osama.
Watch the app in action
Introduction
What Smile ResiPro does and who it is for, in 33 seconds.
A Class IV in one appointment
A real fracture case from plan to final photo, beside the app's screens.
Try it on your next case
Every plan starts with a 3-day free trial. Cancel any time in your Apple Account settings.
Monthly
Full access, billed monthly through the App Store.
Annual
Full access for about $7.50 a month.

Prices in US dollars. The App Store shows the price for your country. Requires iOS or iPadOS 15 or later.

Made by a dentist who teaches this workflow
Dr. Osama Shaalan is a specialist in aesthetic and restorative dentistry, practising in Dubai and Muscat. He teaches hands-on direct composite courses for dentists around the world, and built Smile ResiPro to bring that workflow to the chair.
Questions dentists ask
Who is Smile ResiPro for?
Qualified dental professionals and supervised dental trainees. It is not designed for patients.
Does it replace my clinical judgement?
No. It supports your planning and documentation. You verify the shade, materials, curing and every restorative step for each case, following the manufacturer's instructions.
Where are my case photos stored?
On your device. The app is designed to process and store photos and case information locally, and nothing leaves it unless you export, share or back it up, or send a case to Ask Dr Osama. Avoid faces, names and patient numbers in photos.
How does Ask Dr Osama work?
Describe the case with one focused clinical question, attach up to three fully de-identified photographs, and send it from the app. Dr. Osama is notified by email straight away. The feedback is educational and does not replace your own clinical judgement.
Which composites can I use?
59 composite systems from 26 manufacturers are built in, and you can mix shades from different brands. You can search them all in the composite library.
Which devices does it run on?
iPhone and iPad with iOS or iPadOS 15 or later.
How do I cancel or restore my subscription?
Subscriptions are managed by Apple: open Settings, then Apple Account, then Subscriptions. Deleting the app does not cancel a subscription. To restore access on a new device, open the app and choose Restore Purchase.
Three days free on your next case
Download Smile ResiPro on the App Store and plan your next anterior composite layer by layer.